Tutorial: build a CRM
This walkthrough builds a small CRM - Companies, Contacts, and Deals - with SvGrid Studio: scaffolded CRUD screens, a related-record picker, a master-detail view, validation, theming, and a real database. Follow it end to end in about fifteen minutes.
By the end you will have three working data screens and understand how the pieces fit together.
Want the no-code version? This exact CRM ships as a ready-made sample app you can open in one click and point at your own data - no coding. See Sample apps (the CRM sample) or Build it visually. This page builds it by hand, in code.
1. Set up
Create a SvelteKit app and install the packages:
npm create svelte@latest crm && cd crm
npm i @svgrid/grid @svgrid/enterprise
Set your license key so the screens ship without a watermark (optional in dev):
// src/routes/+layout.ts
import { setLicenseKey } from '@svgrid/enterprise'
setLicenseKey(import.meta.env.VITE_SVPRO_KEY)
2. Define the data model
Use a Drizzle schema (or point Studio at an existing database - see step 7):
// src/lib/db/schema.ts
import { pgTable, serial, text, integer, timestamp } from 'drizzle-orm/pg-core'

export const companies = pgTable('companies', {
  id: serial('id').primaryKey(),
  name: text('name').notNull(),
  domain: text('domain'),
  tier: text('tier'),
})

export const contacts = pgTable('contacts', {
  id: serial('id').primaryKey(),
  name: text('name').notNull(),
  email: text('email').notNull(),
  companyId: integer('company_id'),
})

export const deals = pgTable('deals', {
  id: serial('id').primaryKey(),
  title: text('title').notNull(),
  amount: integer('amount'),
  stage: text('stage'),
  companyId: integer('company_id'),
  closeDate: timestamp('close_date'),
})
3. Scaffold the screens
Generate a CRUD screen for every table in one command:
npx @svgrid/studio add --all --from src/lib/db/schema.ts
npm run dev
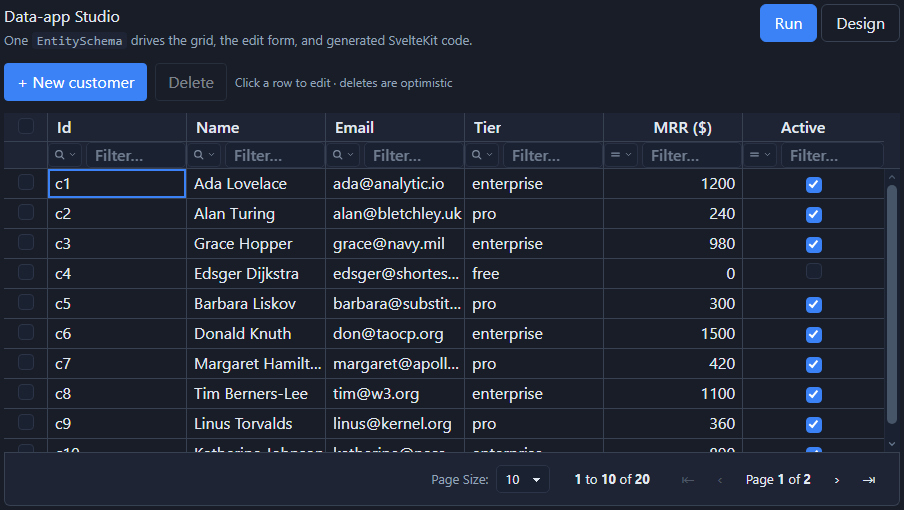
Open /companies, /contacts, /deals. Each is a full screen - sortable,
filterable, paginated, with create / edit and multi-select delete. (Without a
database the routes start in-memory, so they run immediately; connect a real one
in step 7.)
4. Add validation
Open src/lib/contacts.schema.ts and tighten the fields - built-in constraints,
no library needed:
{ field: 'name',  type: 'text', required: true, minLength: 2 },
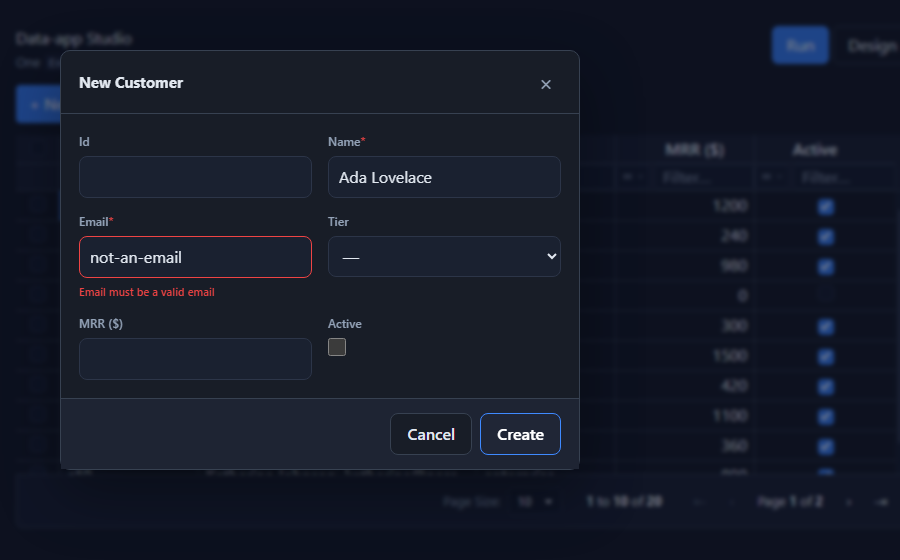
{ field: 'email', type: 'text', required: true, format: 'email' },
Now the contact form rejects an empty name and an invalid email, inline:
5. Relate deals to companies
A deal belongs to a company. Model the relation in src/lib/deals.schema.ts:
{
  field: 'companyId',
  type: 'relation',
  label: 'Company',
  relation: { entity: 'companies', foreignKey: 'companyId', labelField: 'name' },
}
Then give the deal form a company picker by supplying the choices (load companies in the page and map them to options):
const dealForm = {
  ...dealSchema,
  fields: dealSchema.fields.map((f) =>
    f.field === 'companyId'
      ? { ...f, options: companies.map((c) => ({ value: String(c.id), label: c.name })) }
      : f,
  ),
}
Creating a deal now shows a Company dropdown. See Relations.
6. Master-detail: a company and its deals
Give the Companies screen a nested Deals grid. Replace the <SvGrid> in
src/routes/companies/+page.svelte with:
<script lang="ts">
  import { SvGridMasterDetail } from '@svgrid/enterprise'
  import { companySchema } from '$lib/companies.schema'
  import { dealSchema } from '$lib/deals.schema'
  // companies + deals loaded from your data source
</script>

<SvGridMasterDetail
  schema={companySchema}
  data={companies}
  detailSchema={dealSchema}
  getChildren={(company) => deals.filter((d) => d.companyId === company.id)}
/>
Click a company row to expand its deals inline. See Master-detail.
7. Connect a real database
Point the same commands at your database - the schema, screens, and forms stay identical:
npm i pg
export DATABASE_URL="postgres://user:pass@localhost:5432/crm"
npx @svgrid/studio add --all --db postgres --url "$DATABASE_URL"
The generated +server.ts routes now read and write your Postgres tables. Works
the same for Supabase, MySQL, SQL Server, and SQLite.
8. Theme it
Match your brand by pointing the --sg-* tokens at your design system - the
grids, forms, and modals all follow:
:root {
  --sg-accent: hsl(var(--primary));
  --sg-bg: hsl(var(--background));
  --sg-fg: hsl(var(--foreground));
  --sg-radius: var(--radius);
}
See Themes & styling.
9. Ship it
Run the checks and deploy with any SvelteKit adapter:
npx svelte-check
npm run build
See the deployment checklist - license key, DATABASE_URL,
connection pooling, and auth on the routes.
Where to go next
- Add auth guards to the API routes (
+server.ts). - Add a dashboard page that reads aggregates from the same sources.
- Regenerate after a schema change - your customizations survive the
svgrid:managedregions (Code generation).